Starting a chef’s garden is easier than you think.

I don’t know about you, but we’ve certainly noticed groceries getting a lot more expensive lately. And with supply chain disruptions causing empty grocery shelves, we’ve decided to take matters into our own hands.
During these times starting a garden might be a good idea. We had a small chef’s garden on our sunny patio in Arizona many years ago. Despite heat, water, and critter challenges it kept us supplied with a variety of herbs and vegetables for months on in.
Since then we’ve gardened on a condo patio, and now we’re planning some elaborate organic gardening on our own spacious lot.
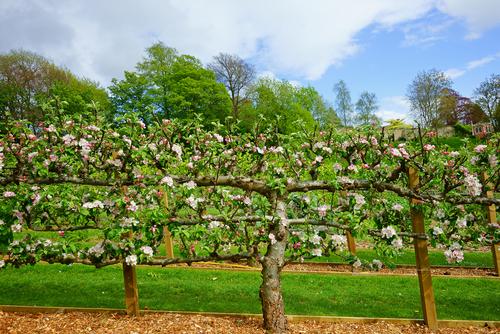
This will include shade trees, two large raised gardens, and fruit trees planted espalier style with the branches spreading across a trellis for maximum exposure to the sun.

We’ll share in those details as plans come together, but for now let’s talk about a simple raised-bed chef’s garden.
The Advantages of Raised-bed Gardening
The beds come in all shapes and sizes, so you can put one just about anywhere: your front yard, back yard, courtyard, balcony, anyplace that has enough sunshine and water available.
You can set up your beds low to the ground or raised high enough that you don’t need to bend over to tend your plants.
Plus, raised garden soil warms faster than the ground which means you get a head start on spring planting. Also, weeds have lees room to grow and pest control is much simpler.
Also, you can easily optimize the soil mix for whatever you’re growing. Another great advantage is that small garden techniques will yield more crops per square foot than a row garden.
Installation of our Raised Bed Gardens
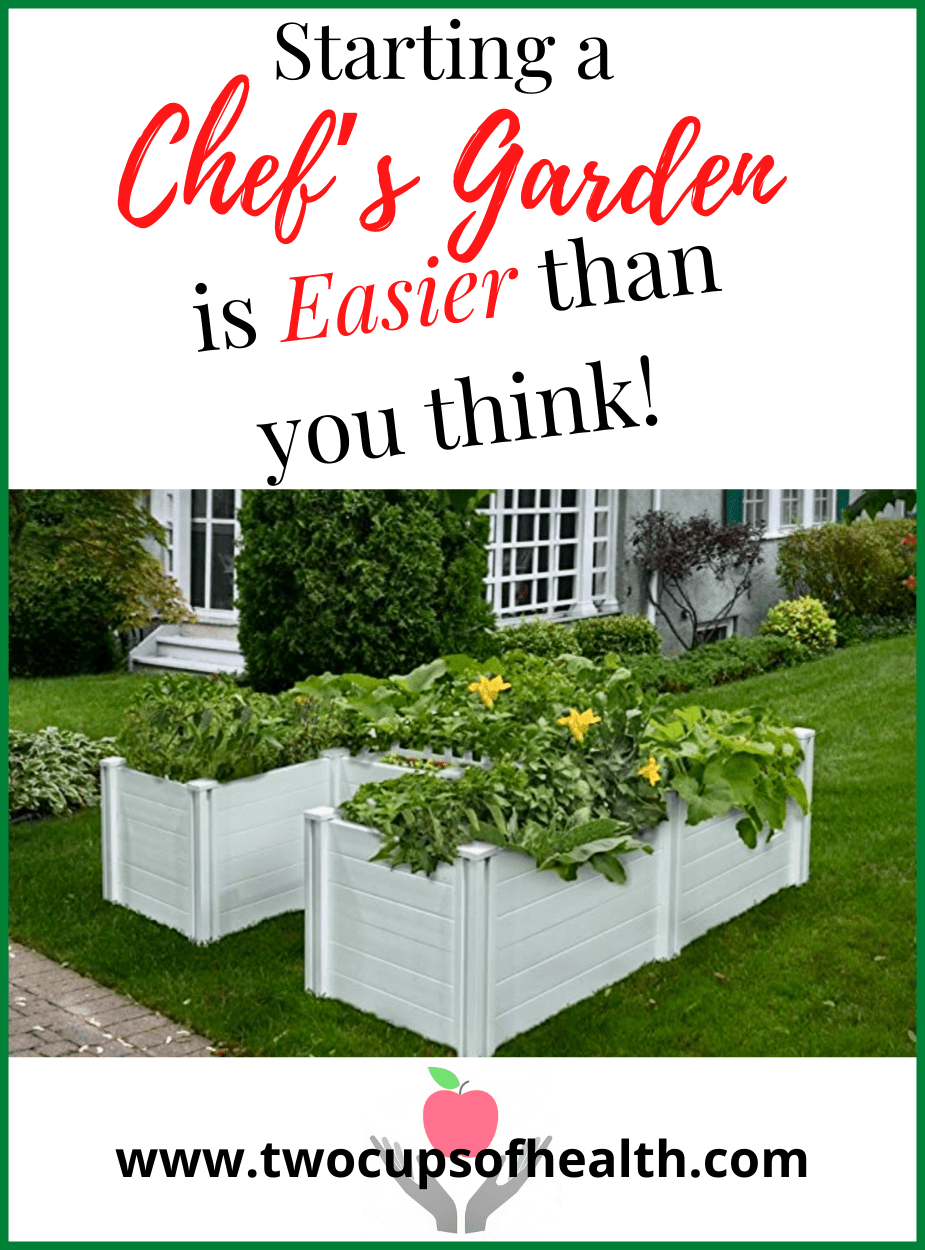
We knew we wanted to have at least fifty square feet or more of garden space, so we bought two raised 6×6 ft. composting bed kits from Vita Gardens.

The really cool thing about these is that a compost area is included right in the garden to continually nourish your soil.
I have to tell you, these raised gardens were dead simple to put together. One person can do it, but two people make the job go twice as fast.
Each garden provides about 32 square feet of planting area, so we can easily plant, prune and harvest. You may choose something smaller and lower to the ground, which will save on the cost and labor to fill them with the proper soil.
We knew that these gardens need to sit on a level surface, so we first cut away the sod in our garden area. Next, we laid a sheet of thick plastic to cover the topsoil, then added a section of wire mesh to keep burrowing critters at bay. Then we added a layer of medium-sized gravel to insure good drainage, followed by organic topsoil, compost, and worm casings for nutrition.
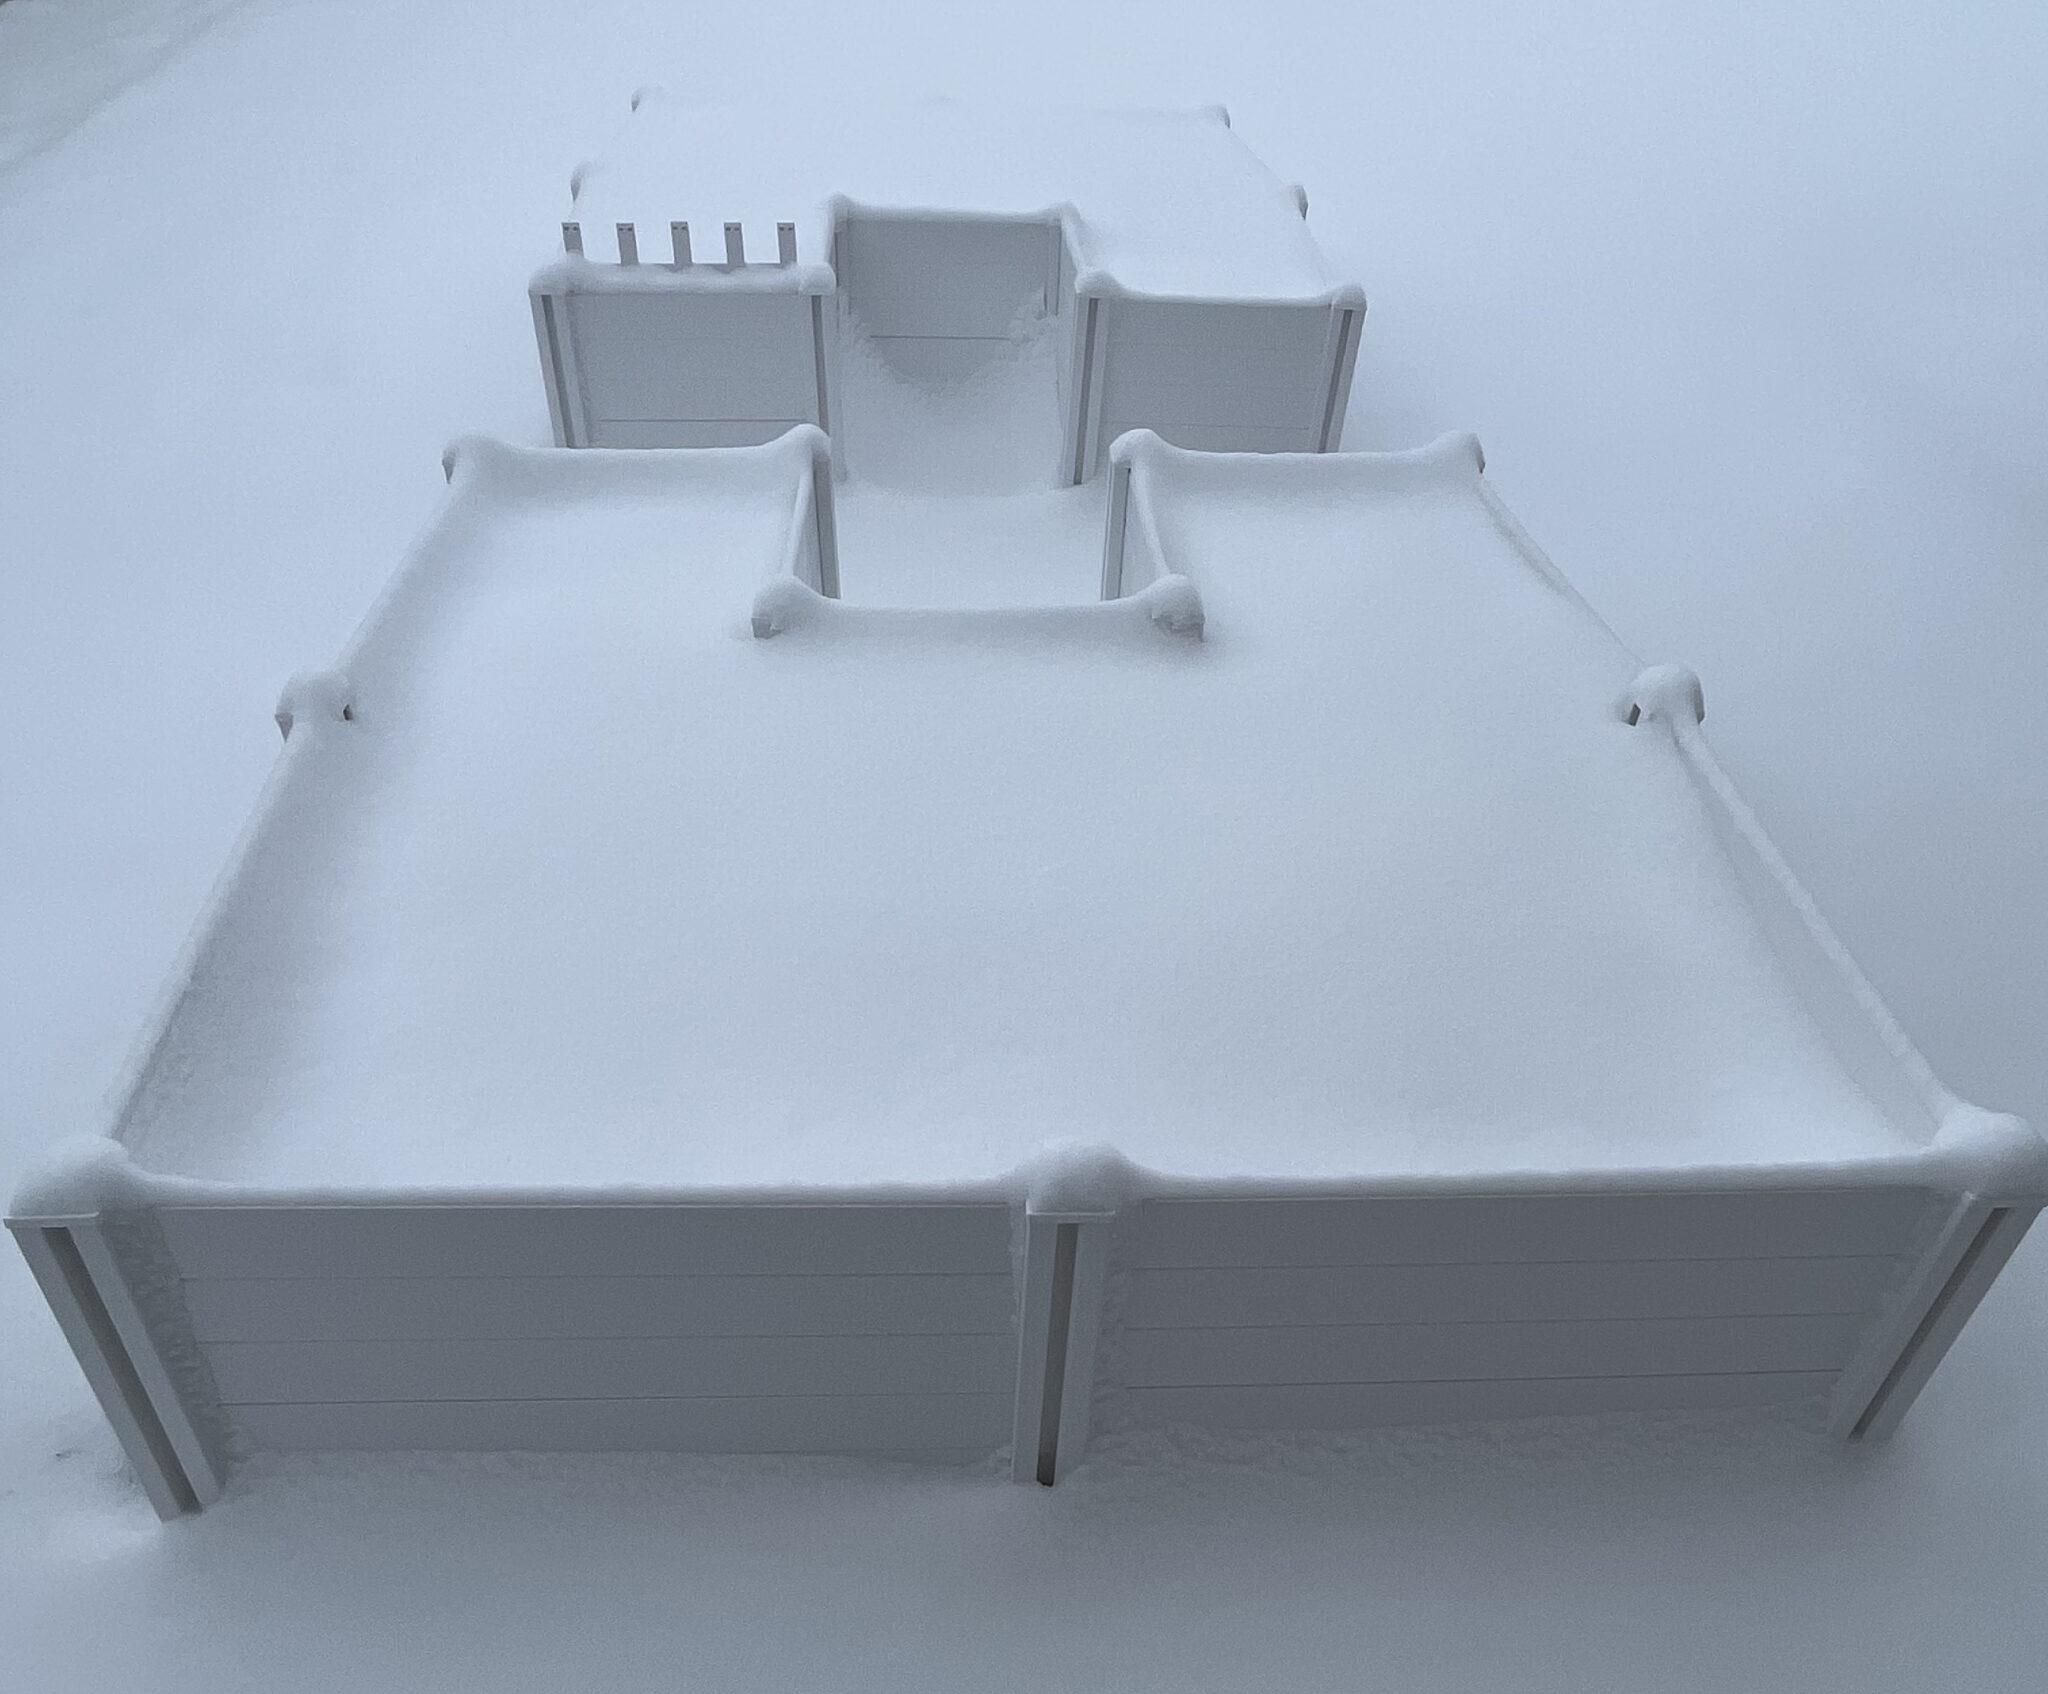
The combination of sod, soil, and gravel measures about 2.5 cubic yards, or 66 cubic feet per bed. That required several trips to the garden store and a day of lugging it all from garage to planters. Thankfully we only had to do this once! Now we have clean, rich, well-drained soil soaking up the winter snow ready for spring planting.

As planting season approaches, we’ll lay everything out with help of The Family Garden Planner. It helps calculate what to plant and where, which tells us how much seed to buy. By the way, we’re hearing from more and more people who are planning to garden this year, so some seed varieties are in short supply.
Since we know what we want to grow we’ve already ordered our 2022 seeds from Mountain Valley Seeds and Park Seeds. With seeds in hand we’ll start some of our crop early in Burpee Starter Trays under Ezorkas Grow Lights in the garage. That will give us several weeks advantage to an earlier crop.
Meanwhile we plan, and wait. We’re in deep midwinter now, but spring, summer, and a long beautiful growing season will begin soon.
You might also be interested tin checking out our Companion Planting Secrets for an Abundant Harvest.

Leave a Reply